 Step 4: Cut out the cavity
The third rectangular prism copy defines the prism to be removed from the solid body of the cabinet. It is also calculated based on the body’s rectangular prism.
To create the cavity and subtract it from the body:
Select the remaining Rectangular Prism Body copy and enter the Name Rectangular Prism Cavity in the Object Info palette.
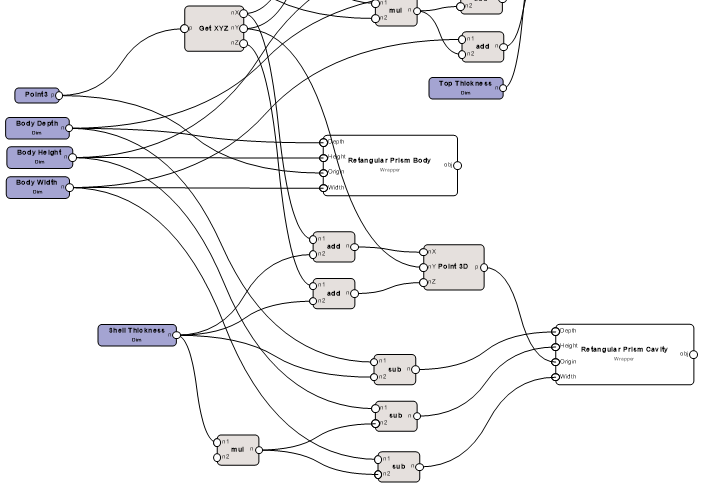
Only one more dimension is needed to define the new prism. Add a Dimension node and name it Shell Thickness.
The X and Z coordinate values will consider the Shell Thickness with two Add nodes. Because this cabinet has an open face, the Y value for the cavity will come directly from the body. Connect the wires.
Add the Shell Thickness to the X value and the Z value on a Point 3D.
Connect the Y from the Get XYZ node directly to the Y port on the Point 3D node.
Three Subtract nodes provide the cavity dimensions. Connect the wires.
The Width is equal to the body width minus two times the shell thickness.
The Depth is equal to the body depth minus the shell thickness.
The Height is equal to the body height minus two times the shell thickness.
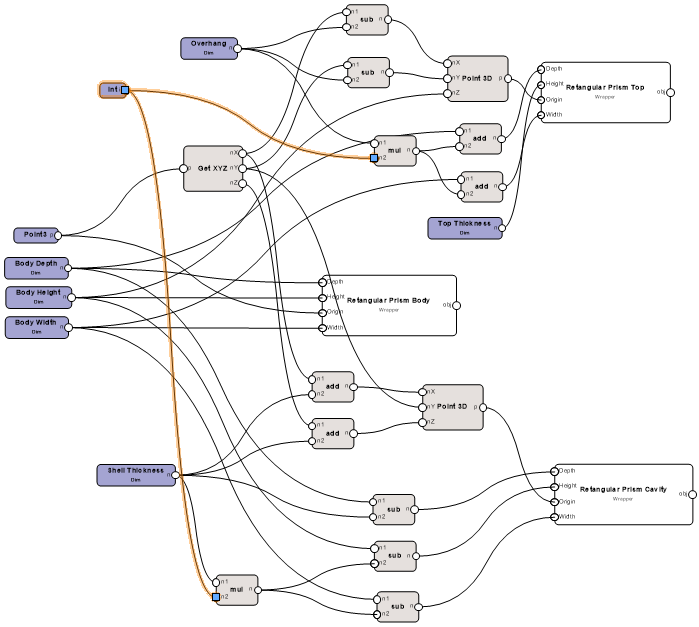
Add a Multiply node to serve as the multiplier.
Set the Shell Thickness node value to 1".
Connect the Integer node to the Multiply node to set a factor of 2.
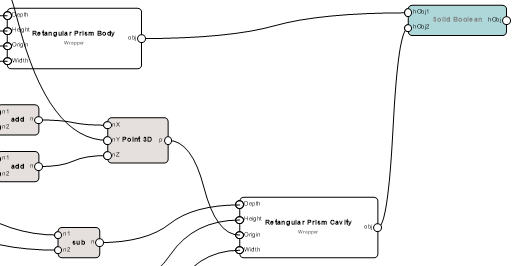
To cut the cavity from the body, use a Solid Boolean node. In the Object Info palette, select Subtract from the operation list. Connect the wires.
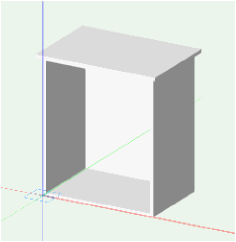
Select a node and click Run from the Object Info palette. Render the cabinet to see the cavity.
You can download the tutorial at this stage (internet access required): Marionette 4
