Loft surface using no rails
|
Mode |
Tool |
Tool set |
Shortcut |
|
No Rail
|
Loft Surface
|
3D Modeling |
Shift+K |
To create a loft surface from two or more NURBS curve cross sections:
Click the tool and mode.
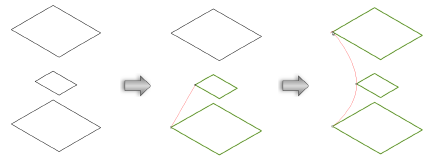
Click on each cross section. The cursor changes into an arrowhead when over a valid cross section. The point nearest to the click is selected.

The proposed curve alignment displays in red as each section is selected.
Cross sections are created using NURBS curves which do not need to be the same shape or planar. All NURBS curves must be either closed or open objects, not a mixture of the two. 3D loci can be used in a loft, but must display at the ends of the loft.
Once all curves are selected, press Enter or click the check mark button on the Tool bar.
The Loft Creation dialog box opens. Specify the desired loft creation settings.
Click to show/hide the parameters.Click to show/hide the parameters.
|
Parameter |
Description |
|
Select Curve |
Selects the previous or next cross section curve. Reverse changes the direction of the curve to twist or untwist the loft surface. |
|
Reverse |
Click to reverse the curve direction |
|
Select Alignment by Point |
Selects the previous or next point on the selected cross-section curve. If the cross section does not have any corners, this option is disabled. |
|
Select Alignment by Percentage |
Selects points along a geometrically continuous cross section (such as a circle) by a specified percentage, or by adjusting the slider |
|
Ruled |
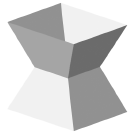
Creates a linearly interpolated object
|
|
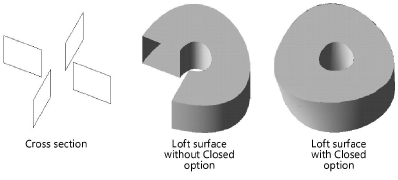
Closed |
Creates a loft surface that closes in on itself. Because the start point cannot be selected as the end point of a loft, the Closed option automatically completes the connection.
|
|
Create Solid |
Creates a solid loft surface with capped ends; deselect to create a group of NURBS surfaces instead of a generic solid
|
|
Keep Curves |
Retains the cross sections after the loft is created |
|
Preview |
Displays the proposed loft surfaces based on the current settings |


