 Creating Spaces from WallsCreating Spaces from Walls
Floor plans can be created by first creating walls, and then automatically creating spaces to determine the area of each room or the gross area defined by the wall perimeter.
To create spaces from walls:
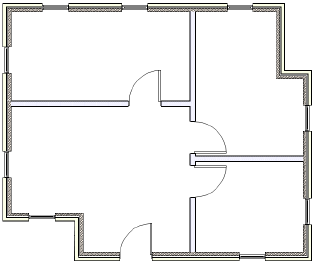
Create the walls and ensure that they are properly joined.
From the Attributes palette, set the 2D attributes for the spaces (fill, pen, opacity, and line thickness).
Select the Space tool, and from the Tool bar, select Preferences. Set the default parameters for the space objects.
Select AEC > Space Planning > Create Spaces from Walls. The Create Spaces from Walls dialog box opens. Specify how to create the spaces, the minimum area for creating spaces, and their location.
The Create Spaces from Walls command is available for Vectorworks Landmark and Spotlight software but is not present in the those workspaces. It can be added to the Landmark and Spotlight workspaces (see Creating or Editing Workspaces).
Click to show/hide the parameters.
Click OK to create the spaces on the destination layer.
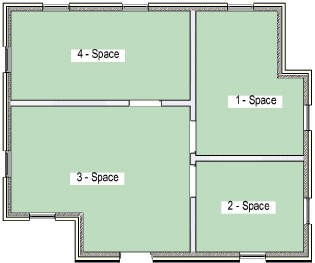
Spaces are created for all areas enclosed by walls, or for the gross area defined by boundary of the walls. Default room name information is set and should be edited to complete the floor plan.
After the spaces are created, the original walls can still be modified. To update the spaces to conform to the new walls, select the Create Spaces from Walls command again. The existing spaces are reshaped without losing any space parameters that have already been specified.
If the original spaces were not drawn perfectly straight, select the Create Walls from Spaces command with the Constrain Straight Walls option. Now that the walls are straight, select the Create Spaces from Walls command to straighten the spaces.
~~~~~~~~~~~~~~~~~~~~~~~~~
![]()