Do one of the following:
● When Importing Image Files, click Image Effects from the Image Import Options dialog box.
● Select a bitmap object, select Apply Image Effects, and then click Image Effects from the Object Info palette.
● When Creating Resources using an image, click Image Effects from the Image Import Options dialog box.
● Once an image resource exists, right-click on it from the Resource Manager and select Edit Image Effects from the Resource Viewer Menus.
● When modifying Viewport Properties, select Apply Image Effects, and then click Image Effects from the Object Info palette, or select Edit Image Effects from the context menu. The viewport must be rendered with OpenGL or a Renderworks mode, and be updated.
● When creating an image-based color shader, and Importing Images for Color Shaders, click Image Effects from the Edit Image Color dialog box.
● When Creating Image Backgrounds, click Image Effects from the Edit Image Background dialog box.
The Image Effects dialog box opens.
![]() Click
to show/hide the parameters.
Click
to show/hide the parameters.
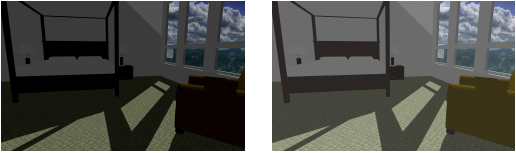
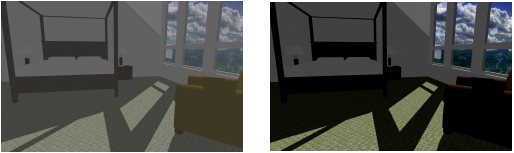
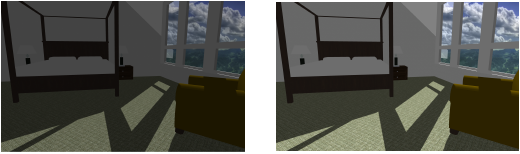
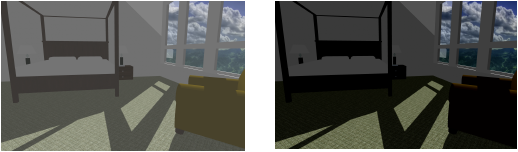
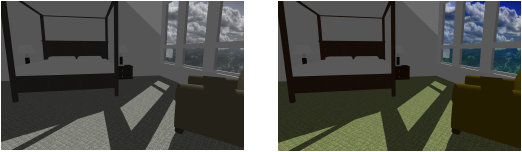
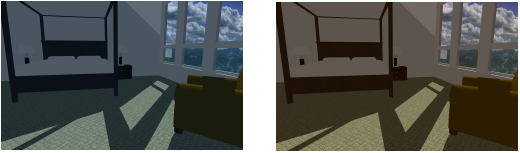
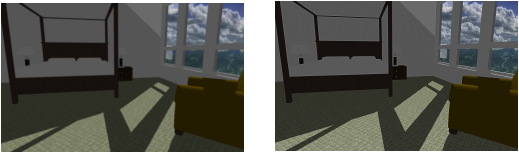
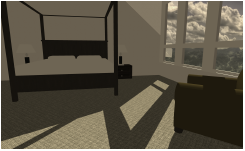

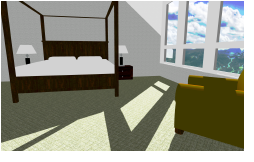
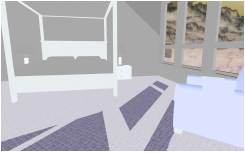
The preview area displays the changes to the image or viewport as the sliders are adjusted. Click Preview to see the changes in the drawing, for an existing image or viewport.
Click Apply.
