 Editing contour labels
Editing label positions
|
Mode |
Tool |
Tool set |
|
Edit Site Model Label Position
|
Reshape
|
Basic |
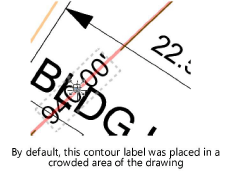
Normally, contour labels are distributed along the major contour lines at regular intervals. Occasionally, this is not desirable and a label needs to be moved. When a site model is selected, two additional modes are available for the Reshape tool. These modes allow the contour labels to be repositioned, added, and removed.
Show contour labels and Custom label placement must be selected in the Site Model Settings dialog box. If the labels are not displayed, you are prompted to show them.
To change the font size of the contour labels, set the size from the Text > Size menu.
To edit contour labels:
Select the site model.
Click the tool and mode.
Each label on the contours of the site model displays with a control point.

Click a tool mode to move, add, or delete label handles.

Only one contour label can be edited at a time. The Reshape tool marquee modes have no effect on contour label operations. See Reshaping objects for more information.
If the site model changes later, the relative label positions are preserved, reducing the need to reposition them again.
Adding contour labels
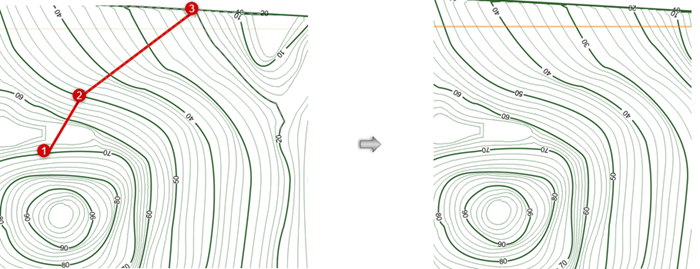
You may want to control the location of a series of labels at one time (rather than adjusting them one at a time), or you might want to add more contour labels to the contours. You can automatically add contour labels along a polyline that you draw.
To add contour labels along a polyline:
Select the site model in Top/Plan view.
From the Object Info palette, click Add Contour Labels.
Click to start drawing the polyline. Click to set the end of the segment and the beginning of the next; double-click to finish the line (see Creating polylines). A contour label is placed at every contour intersection. The labels follow all attribute and unit settings from the the site model settings, including the position (parallel to the contour or horizontal). The drawn polyline is not retained after the operation.


