Creating a
Fillet Surface
The Create Fillet Surface command
creates a surface between two selected surfaces, trimming the original
surfaces by default.
This command is useful for sheet metal design (for example,
for car bodies) to provide a smooth transition between two adjacent surfaces—perhaps
for aesthetic quality or because of a manufacturing requirement.
To create a fillet surface at the intersection of two selected
NURBS surfaces:
Select
two NURBS surfaces. The position of the fillet surface depends on
the normal of the NURBS surfaces; select Show Normal
from the Object Info palette to display the surface normals.
Select
Model > 3D Power Pack > Create Fillet
Surface.
The Fillet Surface Preferences dialog
box opens. Enter the desired Fillet Radius,
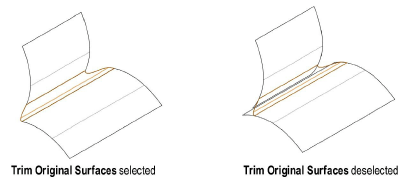
and then select the trim and cross section type for the fillet.
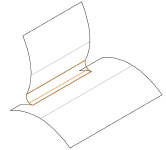
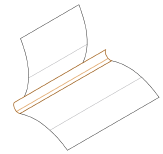
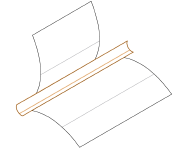
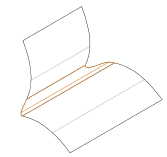
The following trim type examples use
a circular cross section type, and the cross section examples use
an edge tangency trim type. The original surfaces are trimmed.
Click
to show/hide the parameters.
Click
OK.
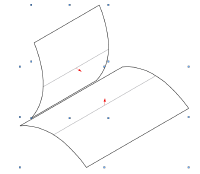
A NURBS fillet surface is created between
the two objects.
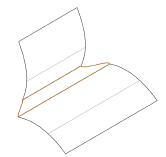
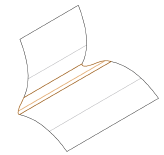
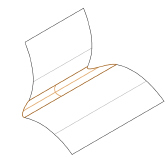
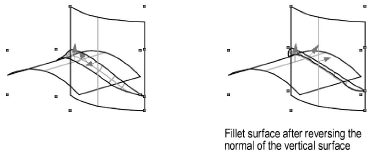
The position of the fillet surface depends
on the surface normals. The fillet is created differently if the Reverse Normal button is clicked for one or both
of the surfaces from the Object Info palette.
~~~~~~~~~~~~~~~~~~~~~~~~~
Creating a Loft Surface
Creating Surfaces from Curves
Creating a Drape Surface
Creating Planar Caps
Creating a NURBS Surface by Revolving a Profile Along a Rail
NURBS Surface Properties
Concept: NURBS Curves and Surfaces
Was
this page helpful?

vectorworks.net