Tool
Tool set
Renderworks Camera

Visualization
Tool |
Tool set |
Renderworks Camera
|
Visualization |
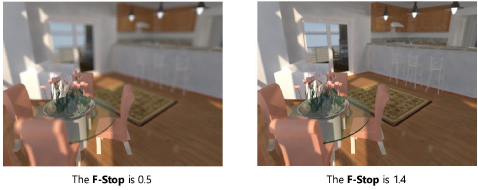
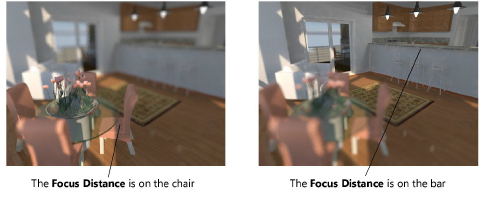
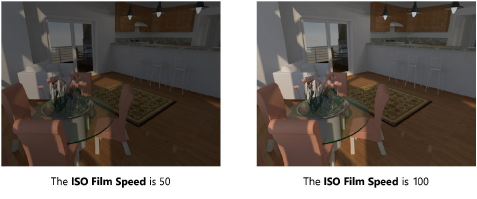
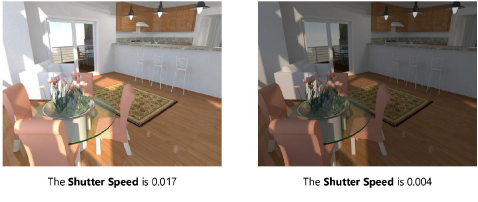
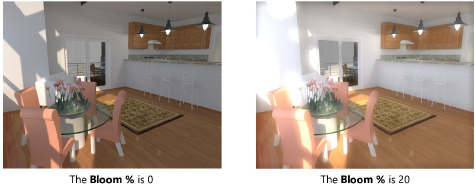
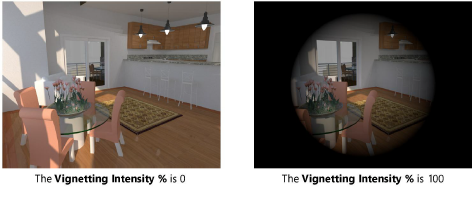
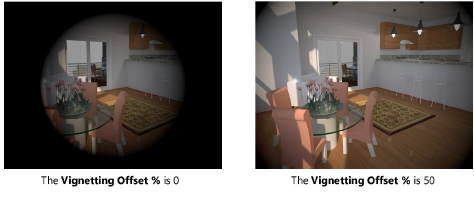
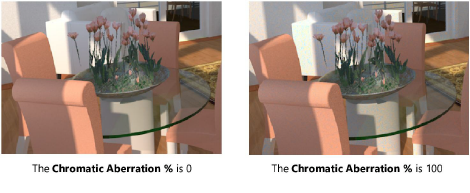
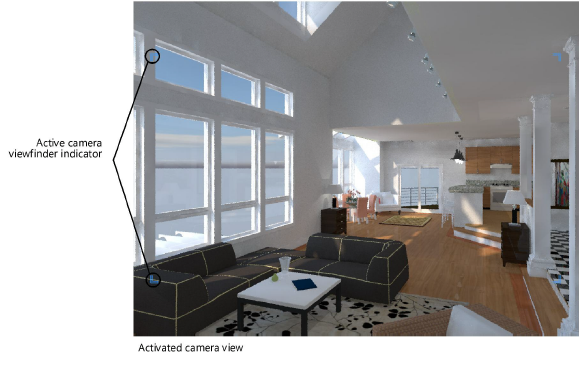
The Renderworks Camera tool sets a camera view, and allows you to activate a particular camera, which makes it easy to modify the view. Specific attributes, such as camera focal length, field of view, height, and aspect ratio can be set, as can Renderworks camera effects such as depth of field, exposure, bloom, vignetting, and chromatic aberration when rendering in Final Quality Renderworks or Custom Renderworks render modes.
Several preset Renderworks camera resources, with settings for effects such as daylight or interior low light, are available from the Vectorworks Libraries in the Resource Manager.
|
Click here for a video tip about this topic (internet access required). |
To insert a Renderworks camera:
1. Click the tool.
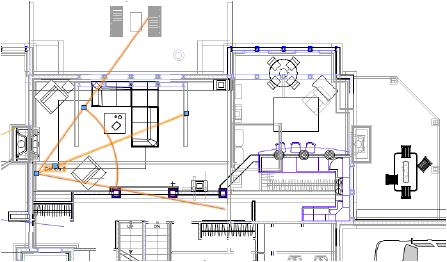
2. Click on the design layer to specify the camera location. Click again to indicate the camera’s look-to point.
If this is the first time a camera object has been inserted in this session, the Renderworks Camera Object Properties dialog box opens.
3. The camera properties can be edited in the Object Info palette.
You can create your own preset camera resources for later use by converting a camera to a symbol with Convert to Group selected in the Create Symbol dialog box (see Creating symbol definitions). On insertion, the symbol is ungrouped and inserted as a Renderworks camera object that can be modified if needed.
![]() Click
to show/hide the parameters.
Click
to show/hide the parameters.
|
Click here for a video tip about this topic (internet access required). |
~~~~~~~~~~~~~~~~~~~~~~~~~