Mode
Tool
Tool set
Shortcut
Planar Face

Set Working Plane

3D Modeling
Shift+1
|
Mode |
Tool |
Tool set |
Shortcut |
|
Planar Face
|
Set Working Plane
|
3D Modeling |
Shift+1 |
The Set Working Plane tool and Align Plane tool share the same position on the tool set. Click and hold the mouse on the visible tool to open the Pop-out tools list and select the desired tool.
The Planar Face mode of the Set Working Plane tool is particularly useful when you want to align the working plane to the top of an object without sharp corners (like a cylinder). Instead of clicking in three places, you only need to select the planar face of the object.
In addition, the working plane can be positioned on a NURBS curve, aligning the working plane’s Z axis to the curve’s tangent direction. The ability to set the working plane to a NURBS curve requires one of the following conditions: a smart point must be set on the NURBS curve, Snap to Object must be enabled, or the Nearest Point on Edge object snapping must be enabled.
To set the working plane to a planar face:
1. In a 3D view, click the tool and mode.
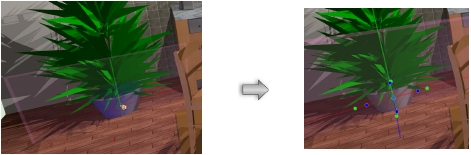
2.As the cursor moves over the underlying geometry, a preview of the working plane displays. Click to set the working plane location. The click location becomes the origin of the working plane.
The working plane is aligned to the selected face and remains selected for manipulation. The working plane is deselected when the Set Working Plane tool is no longer active.
~~~~~~~~~~~~~~~~~~~~~~~~~