 Inserting and removing accessories in the drawing area
 Inserting and removing accessories in the drawing area
Within the drawing area, the Lighting Accessory tool attaches and removes accessories from one lighting device at a time. Accessories are inserted in the default position.
To insert accessories in a custom position, or adjust the accessory position in 2D and 3D views, see Workflow: Editing accessories.

|
Mode |
Description |
|
Default Insertion |
Inserts an accessory in the default position |
|
Remove |
Removes an accessory |
|
Accessory symbol |
Opens a Resource Selector to select an accessory for placement; double-click a resource to activate it |
|
Mode |
Tool |
Tool set |
|
Default Insertion
|
Lighting Accessory
|
Lighting |
The Lighting Accessory tool inserts an accessory in the default position on the highlighted lighting device (or on the highlighted cell in a multi-cell device).
To insert an accessory in the default position:
1. Click the tool and mode.
2.Click Accessory symbol to select an accessory from the Resource Selector.
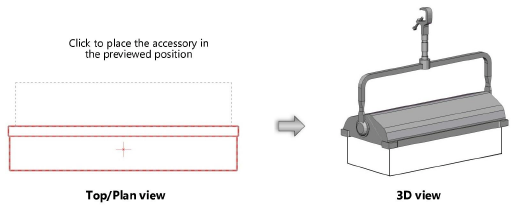
3.Click a lighting device to attach the accessory in the default position. Lighting devices are highlighted as the cursor moves over them. On a multi-cell lighting device, a diamond highlight indicates the cell where the accessory will attach. A preview shows where the accessory will be placed.

If an accessory symbol is accidentally inserted by the Symbol Insertion tool, the accessory functionality will not be present.
|
Mode |
Tool |
Tool set |
|
Remove
|
Lighting Accessory
|
Lighting |
The Lighting Accessory tool removes accessories from lighting devices in the drawing area.
To remove an accessory:
1. Click the tool and mode.
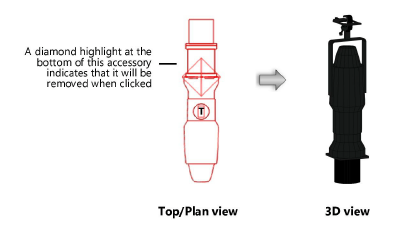
2.Hover the cursor over a lighting device with accessories; a diamond highlight indicates which accessory will be removed.
3.Click to remove the desired accessory.

~~~~~~~~~~~~~~~~~~~~~~~~~