 Creating railings and fencesCreating railings and fences
|
Tool |
Workspace: Tool set |
|
Railing/Fence
|
● Architect: Furn/Fixtures ● Landmark: Site Planning and Furn/Fixtures ● Spotlight: Customize workspace to add tool (see Customizing workspaces) |
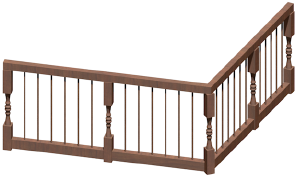
The Railing/Fence tool creates a railing or fence along a specified path using standard polyline creation modes. You can also create railings and fences along a single, straight 3D line at any angle. Railings and fences can be created using a material resource for an efficient BIM workflow.
Alternatively, create a polyline and then select the Create Objects from Shapes command (see Creating objects from shapes).

|
Mode |
Description |
|
Polyline |
Draws a railing or fence along a path using the selected polyline creation options; the object will be placed on the layer plane |
|
3D Line |
Draws a railing or fence along a line at any angle; snap the line to a site model object to follow the contours of hilly areas, for example |
|
Polyline creation options |
When Polyline mode is selected, selects the method for drawing the polyline upon which the railing or fence is based; see Creating polylines |
|
Symbol Selection |
Opens the Resource Selector to select a resource |
|
Preferences |
Opens the Railing/Fence Settings dialog box to set default parameters |
To create a railing or fence:
1. Click the tool and mode.
● To draw the object along a polyline path, click Polyline, and then click the polyline option to use.
● To draw the object along a single, straight 3D line at any angle, click 3D Line.
2.Do one of the following:
● Click Symbol Selection on the Tool bar to select a resource from the Resource Selector.
● Click Preferences to open the Railing/Fence Settings dialog box and specify the tool’s default parameters.
The parameters can be edited later from the Object Info palette.
3.Do one of the following:
● In 3D Line mode, click to set the start point, and click again to set the end point of the object.
● In Polyline mode, click to set the start point; each subsequent click ends the current segment and begins the next. To complete the object, click the start point again (for a closed object), or double-click (for an open object).
|
|
Click here for a video tip about this topic (internet access required). |
~~~~~~~~~~~~~~~~~~~~~~~~~

