 Workflow: Creating curved rampsWorkflow: Creating curved ramps
You can create simple curved ramps by drawing round walls and adjusting their height with the Reshape tool.
|
Tool |
Workspace: Tool set |
Shortcut |
|
Round Wall
|
● Architect and Spotlight: Building Shell ● Landmark: Building Shell and Site Planning |
● Alt+9 (Windows) ● Option+9 (Mac) |
To create a curved ramp:
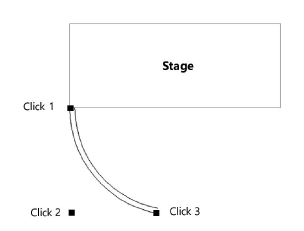
1. Click the tool, and then click the control line mode (see Drawing walls) and arc creation mode (see Creating arcs).
The example below uses Right Control Line mode and Tangent to Line mode.
2.Click to begin drawing the wall that will serve as the basis of the ramp.
3.Depending on the arc creation mode, click once or twice to end the wall.
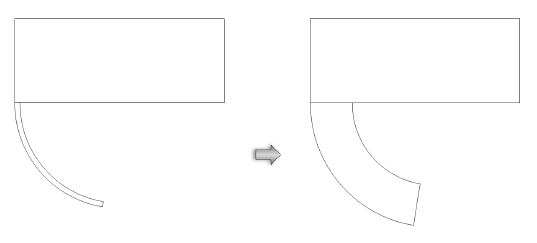
4.From the wall’s Object Info palette, set the desired Height (for the top of the ramp) and Thickness (for the width of the ramp). Adjust the wall position as needed with the Selection tool.
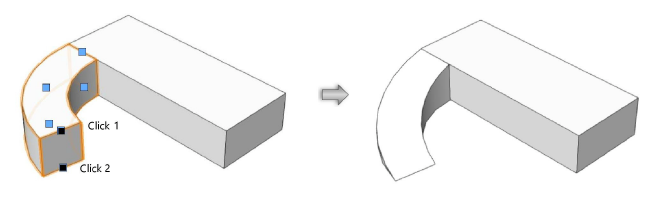
5.In a 3D view, click the Reshape tool and click Reshape 3D Walls mode.
Reshape handles display along the wall.
6.Identify which end of the wall will be the bottom of the ramp. Click the reshape handle at the top of this end of the wall and drag it to the bottom height. (See Changing wall height for more information.)
7.Click again to complete the ramp.
~~~~~~~~~~~~~~~~~~~~~~~~~
