 Placing external connections
|
Tool |
Tool set |
|
External
|
Schematics |

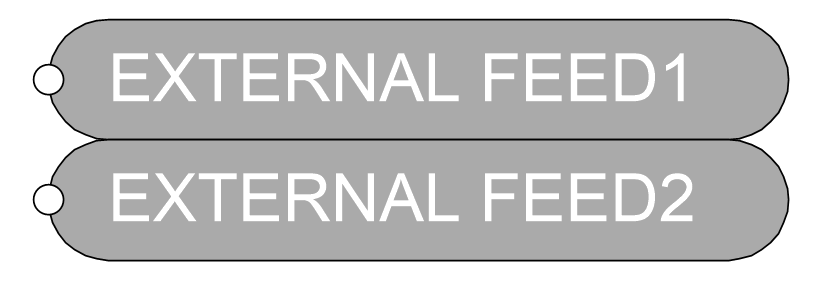
The External tool places a single-circuit, external connection on the drawing. This defines the system’s interface with equipment in the outside world; for example, these could be a set of feeds coming from a host broadcaster. These external cables are outside of the scope of the project, but they still need to be included on the schematic drawing.
![]()
|
Mode |
Description |
|
Single Click
|
Places a single external at the click location |
|
Linear Array
|
Places an array of externals along the drawn line |
|
Name |
Enter the name that appears in various worksheets; names must be unique. If placing an array of externals, the name is automatically appended with a number. |
|
Input/ Output/ Bi-Directional
|
Select whether the external type is IN, IO, or OUT |
|
Left External
|
Places a left-facing external connection |
|
Right External
|
Places a right-facing external connection |
|
Signal |
Select the type of external signal; the list of available signals displays according to priority (uncategorized, custom, workgroup, and default). Select --- to indicate a passive signal, or select ??? for an unknown type of signal. For information about display order and editing signals, see Specifying ConnectCAD settings. |
|
Connector |
Select the type of connection; the list of available connectors for the selected signal displays according to priority (uncategorized, preferred, custom, workgroup, and default). Select --- to indicate that there is no connector, or select ??? for an unknown type of connection. For information about display order and editing the connectors and cables associated with a signal, see Specifying ConnectCAD settings. |
To place an external connection:
Click the tool.
From the Tool bar, enter the Name of the external or group of externals, select Input, Output, or Bi-Directional (IO) mode, and select the appropriate left-facing or right-facing mode.
Select the Signal category and type; the Connector is automatically selected, but it can be changed.
Click to place the external into the drawing.
In Single Click mode, click once to place the object.

In Linear Array mode, click once to start the array; move the cursor to set the distance and direction of the linear array. Press the Shift key to constrain to the horizontal or vertical direction. The preview indicates the spacing and placement of the objects; the floating Data bar shows the Count. Click to place the array. The externals are automatically numbered sequentially.
After placement, you can create a multi-circuit external connection by entering the number of circuits in External Circuits on the Object Info palette.
External connections can be connected to drop points; see Adding drop points.
One potential use for this is to run spare cables between drop points. If you define external-to-external circuits on the schematic and then assign externals to the drop points, the spare cables are documented in the system.
