 Quick Start: Let's tag drawing objects
Difficulty level: Intermediate
Once you have a design, you can quickly and easily add data tags to drawing objects. A tag can be very simple, such as a description that you enter for each tag manually. A more complicated tag can automatically show multiple pieces of data attached to a specific type of drawing object, such as the room finishes and dimensions of space objects.
In this project, you'll create a simple dining area, add data tags to various items, change the scale of some data tags, and edit a data tag layout.
The location of commands and tools varies, depending on the workspace. You can learn to use the Quick Search feature to quickly find commands or tools; see Quick Search. You can also look at the Commands and tools PDF here in the Vectorworks help system.

Draw a room with some doors
Select the New command to open a new, blank file. The drawing opens in Top/Plan (2D) view.
Click the Wall tool  .
.
From the Tool bar, click the Wall Style list, and then from the Resource Selector, select an interior fixed height wall. Double-click the wall style to select it.
Click in the top left corner of the drawing area to begin drawing the first wall. Working in a clockwise direction, draw a room with four walls, 30 ft (9 m) square. Each click ends one wall and begins another connected wall. Click the same point where you began the walls to complete the room.
The floating Data bar shows the current length of the wall, and SmartCursor cues guide you to help align the walls correctly.
Click the Door tool  , and then click the Door Style list on the Tool bar. From the Resource Selector, select a door style.
Click on a wall to position the door, and then click again to place the door.
Select a different door style and place more doors on other walls.
If you get a resource conflict message, because you already have a clear glass texture from when you inserted a door, for example, select Replace the texture in the current document.
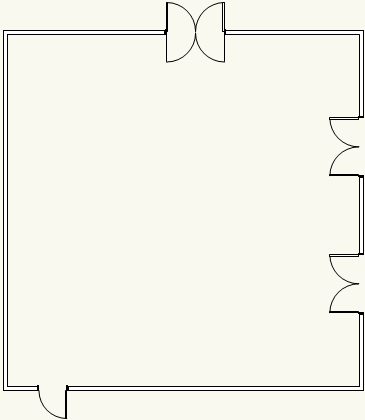
This room has three different styles of doors.
Add table and chair objects
Click the Table and Chairs tool  , and then click the Table and Chairs Style list. Select a cafe table style.
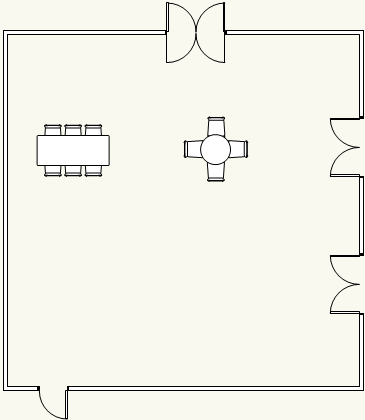
Click in the room to place the table and chairs.
Select another style and place another set of table and chairs in the room.
Still a bit bare, isn't it? Later on, you'll learn a shortcut to duplicate the tables.
Add data tags
Click the Data Tag tool  , and then click the Data Tag Style list.
From the Resource Selector, click the Door.vwx file. Double-click the Door Hex (Incr) style to select it.
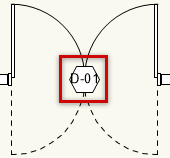
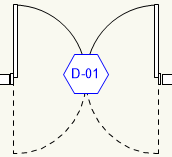
From the Tool bar, click All Eligible Objects mode  . This automatically highlights all the doors in red. Click one of the doors to add data tags to all the doors. The doors are tagged with the prefix D-, followed by numbers that automatically increment for each door.
This is a quick way to tag all objects of a certain type (walls, hardscapes, etc.). This mode doesn't work for all data tag styles, though.
From the Resource Selector, click the Furniture.vwx file, and select the Furn Text style. From the Tool bar, click Single Eligible Object mode  .
.
This tag style isn't associated with a specific type of object as the door tag was, so Vectorworks can't automatically select objects for you. Use this mode to select the objects yourself.
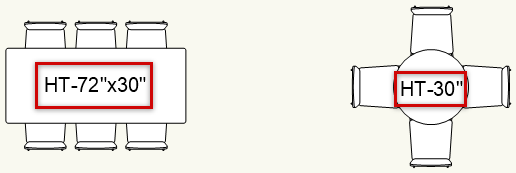
Click one of the tables to place the data tag. The tag is simply a text box with the default text "Mk."
Let's change the text to something more useful. From the Object Info palette, click Edit Tag Data. In the dialog box, enter a description of some sort.

Now add a data tag to the other table, and edit the text however you like.
Change the scale of selected data tags
Let's make the text on the table data tags a little larger, so it's easier to read. Click the Selection tool  , and select both data tags.
On the Object Info palette, change the Scaling setting from None to Symmetric. Then click the Scale Text option, and enter 1.5 in the Factor field to make the data tag 1.5 times larger.
This scaling method would be difficult if you wanted to change several tags scattered throughout your model, however. To scale all the data tags of a certain style, edit the tag layout instead. We'll do that later on.
Duplicate objects
Using the Selection tool, draw a marquee box around the two tables to select them and their data tags.
Hold down the Ctrl key (Cmd key on Mac) and drag duplicates of the objects to another location. Use SmartCursor cues to help you position the objects, as shown in the following video.
Edit a data tag layout
The door data tags would be easier to see if they were a little larger and had some color. You can edit the data tag layout to update all of the tags simultaneously.
Select one of the door data tags. The door associated with the tag is highlighted in red.
From the Object Info palette, click Edit Tag Layout. An alert lets you know that your edits will update all data tags that use this style.
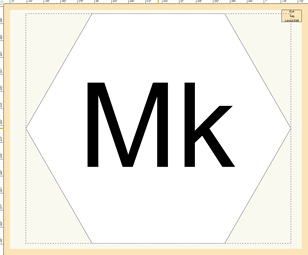
The data tag displays in layout editing mode, which lets you change the various parts of the tag. Let's keep it simple and just change the size and color of the existing objects. Note that the text box in the layout shows the default text "Mk" instead of the data shown in the drawing.
With the Selection tool, draw a marquee box around the tag to select both the hexagon and the text box inside it.
From the Attributes palette, click the pen color control to open the Color Selector. Select another color from one of the palettes available. Here's a nice bright blue from the Classic Vectorworks Colors palette.
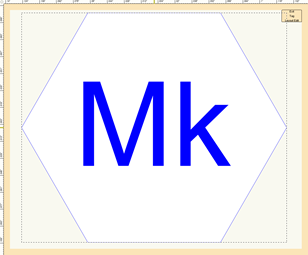
Now click the hexagon to select it by itself. Select the Scale Objects command; enter 1.5 in the X,Y, Z Factor field and click OK. This makes the hexagon 1.5 times larger.
Click Exit Tag Layout Edit; the data tags on all the doors are updated.
There a several data tag styles in the Vectorworks resource libraries that are easy to modify to suit your needs. You can also add text or geometry. If you need a tag for a different type of object (such as cabinets), or to show different data (such as window dimensions), create a custom data tag style.
