|
Command |
Path |
|
Create Walkthrough Path from Selection |
Model > Create Animation |
Walkthrough animations can be created from 2D path objects (lines, arcs, polylines, and polygons) and 3D path objects (3D polygons and NURBS curves). The resulting animation path objects are of different types and their cameras function differently depending on whether they are created from a planar object or a non-planar/3D object. See Types of animation path objects to determine how to create the kind of animation path desired.
A Walk path type can follow the terrain only of the active design layer, so while it can climb stairs, it cannot move along both the lower and upper floors if they are on different design layers. To make an animation that travels on different design layers, either use a 3D path object and create a Fly Freely path type, or use a third-party video editor to join multiple videos into one.
Walkthrough animations can also be created using saved views. See Creating a walkthrough animation from saved views.

To create a walkthrough animation from a path object:
1.Draw a planar or 3D path object, depending on the desired camera behavior.
The camera will move in the direction the source path object was created; to reverse it, click Reverse Direction in the Object Info palette before converting it to an animation path.
2.With the path object selected, select the command.
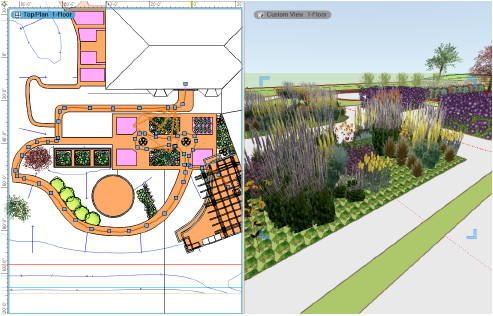
Depending on the original source path object, a Walk type or Fly Freely type animation path is created on the active design layer. The original source path object is deleted. Keyframes are automatically placed at the corner and apex of every curve, and a triangular shape that indicates the camera view displays at the beginning of the path. See Editing animations to reshape the animation path, fine tune the camera’s views, and adjust the speed along the path.
~~~~~~~~~~~~~~~~~~~~~~~~~