 Placing magnets manually
|
Tool |
Tool set |
|
Magnet
|
Rigging |
The Magnet tool and the Truss tool share the same position in the Rigging tool set. Click and hold the mouse on the visible tool to open the Pop-out tools list and select the desired tool.
The Magnet tool places magnets in truss symbol definitions to control the options for connection. Advanced users can place magnets precisely in 3D space. This is helpful when creating or fixing custom truss symbols with unusual geometry, such as hubs, triangle corners, or mid-span connection trusses. For simpler objects like straight trusses, L-corners, or circular trusses, it may be faster to use the method of Inserting magnets based on truss data. However, the tool can be used to place magnets in any truss symbol definition. See Concept: Truss magnets for more information about magnets.
For hinge trusses, the magnet that controls the right-side connection should be added to the grouped geometry that is defined in the BrxHingePart record as the Right Part 3D. Do the same for the magnet that controls the left-side connection, adding it to the grouped geometry defined as the Left Part 3D.
To place magnets in a truss symbol definition:
Select a truss symbol instance in the drawing, and select Edit 3D Component from the context menu.
Alternatively, right-click on the truss symbol in the Resource Manager, and select Edit 3D Component from the context menu.
The symbol's 3D component displays in Object editing mode.
Click the tool.
Click to place the magnet at the connection point. Typically, this is the center of the truss end where the connection will be made.
An alert opens to confirm that magnets will override the Connection data you specified when Setting custom truss parameters; click OK.
The Magnet dialog box opens; set the parameters.
Click to show/hide the parameters.Click to show/hide the parameters.
|
Parameter |
Description |
|
Connection Type |
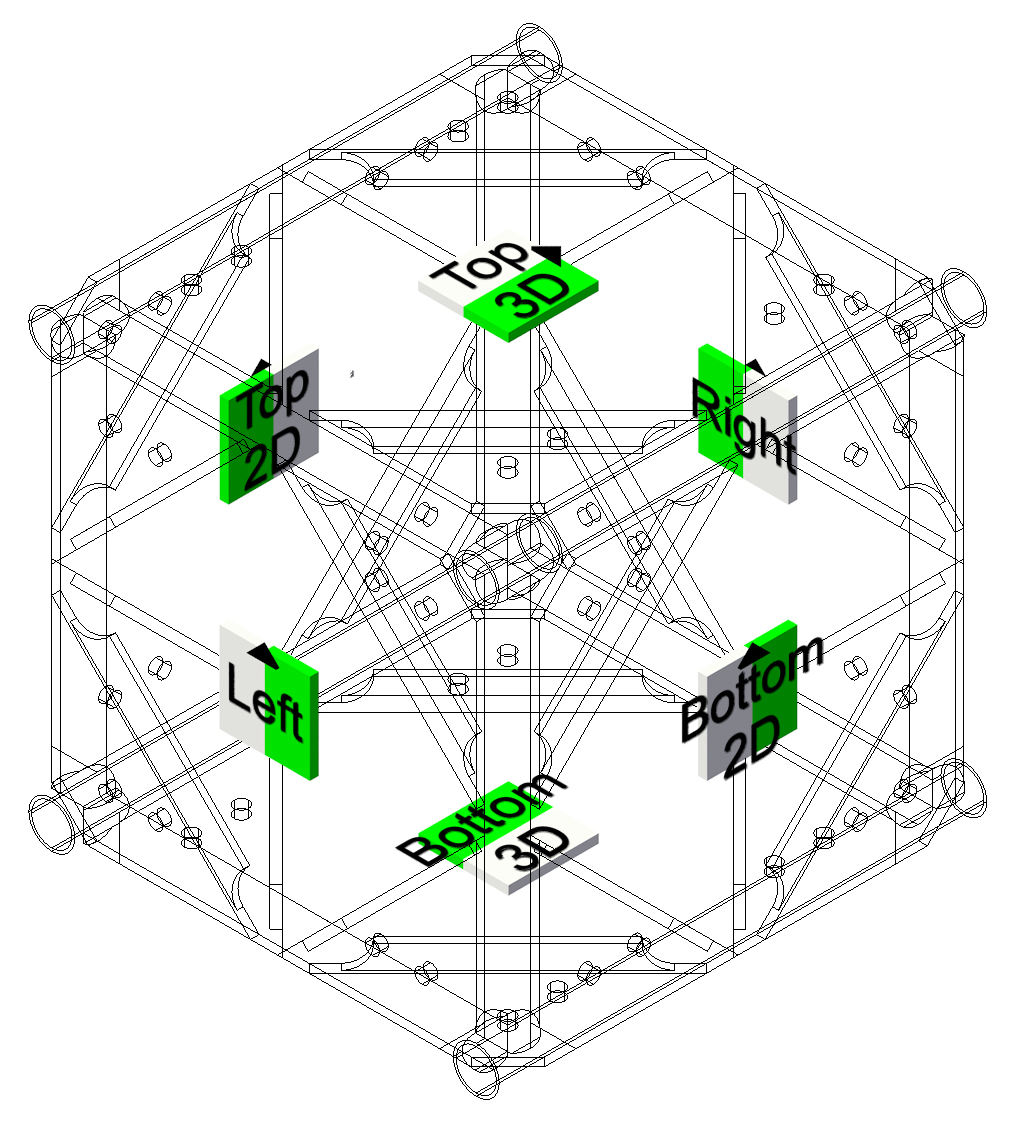
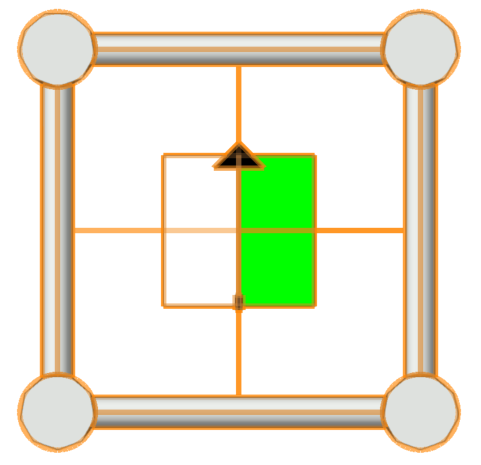
Sets the type of truss connection
The options correspond to the six connection types in a custom truss corner, shown here in a left isometric view |
|
Gender |
Sets the truss gender: Neutral
Male
Female
|
|
Allow Extra Roll Angle |
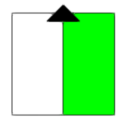
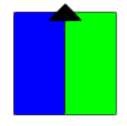
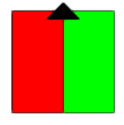
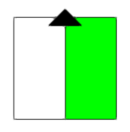
Allows additional roll angles for the connected truss. The options are indicated by black rectangles on the magnet. Triangle trusses do not support roll angles. None: The connected truss will always align with the magnet arrow.
180°: The connected truss can align with the magnet arrow or connect at a 180° angle, depending on the cursor position.
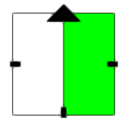
90°, 180°, 270°: The connected truss can align with the magnet arrow or connect at a 90°, 180°, or 270° angle, depending on the cursor position.
|
The magnet is inserted. Its center point should align with the truss cross.
Edit the magnet position and other properties from the Object Info palette. See Adjusting magnets for more information, including tips about magnet configuration for trusses with complex geometry.
